10 tips to take better landscape photographs
(Lire cet article en français) During my photo workshops in Brittany, I realize that landscape photography has really become a trend among amateur photographers. Indeed, it seems easy to manage for anyone possessing a camera. Nevertheless, frustrations can get into your legs regarding the results : Poorly composed images, flat colours, bad light, a subject that is too far, and so on... That's why I have listed these 10 tips that I often give to help to produce better results.
1- Know your camera on the tip of your fingers Knowing your gear and how to use it (according to your needs) will allow you to make the most out of it. Knowing how to deal with depth of field and shutter speed will give you the possibility to play with your subject and produce creative effects. Moreover, knowing the limits of your equipment will tell you until which ISO setting you can go before noise becomes really to important, or how to avoid diffraction (loss of sharpness due to small apertures). 2- Shoot RAW... The RAW file is a digital negative. Unlike the JPEG file, it has not been modified (contrast, colour...) nor has it been damaged or compressed. It retains much more information than a Jpeg file and allows you to correct a wrong exposure, white balance, contrast and so on, by limiting the global quality loss on the image due to post processing. Basically, it allows you to make the most out of your pictures !
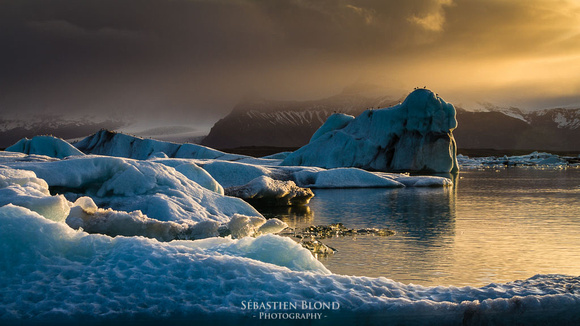
3 - ... and find out about post-processing ! Get familiar with a post processing software to work on your Raw files. I recommend Lightroom, without any doubt one of the most complete solution on the market. Easy and intuitive to use, it is the one I use during my workshops. It opens up possibilities of fast and easy retouching of photographs (exposure, contrast, saturation, white balance, reframing...), allowing an impressive improvement of pictures in just a few clicks. 4- Get up early and go to bed late It's no secret, in landscape photography, great lights have to be deserved ! According to the place where you are, take advantage of morning and/or evening lights (up to 2 hours afetr sunrise and 2 hours before sunset, but it depends on the season and latitude). Each one has its specificities. Morning lights are cooler and can be accompanied by mist. For those living on the Eastern Atlantic coast, West gives you the sunset on the horizon line of the ocean...
5- Learn how to read an exposure histogram Not easy to judge the exposure according to the rendering of the image on the LCD screen of your device, especially when the light is falling. It then becomes important to know how to read your histogram. It should create a curve, more on the right side if possible, but without blocking on the extremes, which would mean burning highlights or blocking the shadows... A real art! 6- Know how to compose an image Knowing the composition rules (rule of thirds, diagonals, foregrounds...) and knowing how and when to overcome them will help you to create stronger images, to highlight your subject, or rather to create a surprise effects.
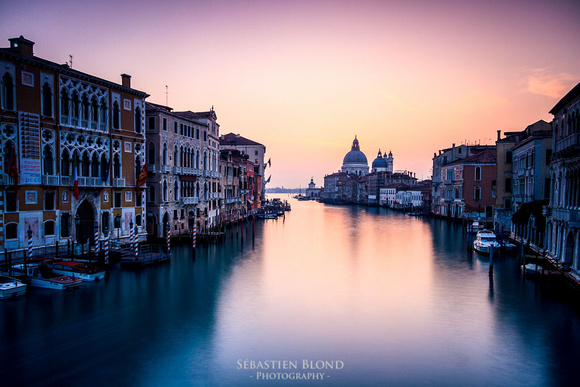
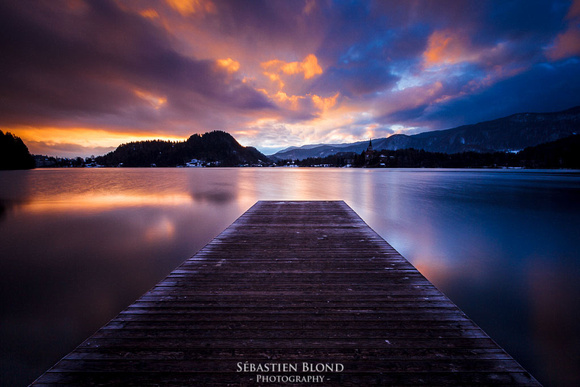
7- Use a tripod... A tripod will allow you to enjoy interesting lights at slow shutter speeds (impossible to practice otherwise) or even very long exposure times, creating spectacular effects (smoothing water and vegetation movements ...) while maintaining a sensitivity as low as possible (to avoid noise). 8- ... and filters ! Filters can help you to avoid technical difficulties during the shooting. I recommend to include:
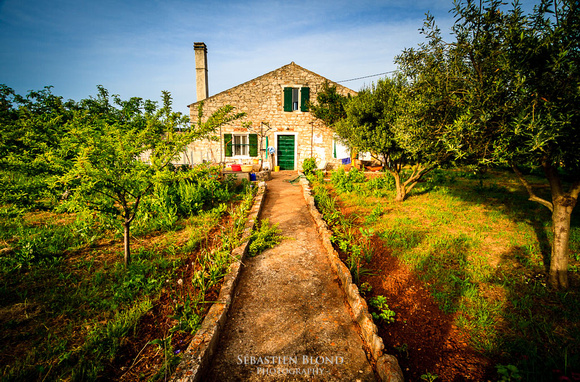
9- Give yourself a mission... but stay open to the opportunities that might come up It can help to give yourself a mission when you go out on a shooting (it could be either a very clear idea of a long exposure in the rocks or documenting a town you are visiting). However, it is essential to remain totally open minded during your photo trip. Photographic opportunities are everywhere for those who want to find them, to see them. It is then very important to look around (at a sunrise / sunset, the show is sometimes more striking if you turn your back to the sun ...!), to move, to vary shots, angles, to change the focal length, and look, always look ... Often, THE photo of your shooting will not be the one you thought when you arrived ! 10- Don't leave your tripod or tele lens at home...Nothing is more frustrating than finding yourself in front of a beautiful spot when you don't have the necessary gear in your bag to immortalize it... bsimply ecause you wanted to save a few grams to carry during your trip.
11 - Find inspiration, share, and analyze your pictures... also on the web When you don't know what to do, where to go or how to photograph a subject, use this gold mine that is the internet: Most serious photographers in your area have a website with their best photos online, make your own selection of photographers to follow. Enjoy sharing sites (Flickr, 500px ...) and social networks (Facebook, but also Google+ or Twitter, which gather many quality photographers). Finally, register on a forum on which you'll be able to submit your photos to criticism (it is always healthy to hear other opinions) but also to enable you to learn by judging and analyzing other people's pictures. It's always easier to spot what's wrong on theirs than on your own images! Well, I hope these ten tips (11, actually) will be helpful. If you have any comments, questions, querries, I invite you to leave a message below or a comment on Facebook, I'd be happy to reply !
Mots-clés:
Tutorials

Commentaires
Aucun commentaire publié.
Chargement...
|